How To Do A French Twist
The secret to any hairdo lies in the hair itself. The healthier the hair, the more styles you can try out with it. Today there are enough hair salons and hairstylists to help you nourish and style your hair. They can give you dietary tips and advice you on other means of strengthening your hair and making them grow longer. People who have healthy hair tend to let it grow longer. This, in turn, gives them a chance to try out a variety of elegant styles. If you enjoy working different styles on your long or even medium hair, the French Twist is definitely going to be a pleasure for you. The more abundant and stronger the hair is, the better it is for a good French twist hairstyle. The best part is that you can wear the French twist, without a second thought, for both formal and informal occasions. If you thought your thick hair was the bane of your life, you’re in for a pleasant surprise. Read on to know more about this classic hairstyle and style your mane to perfection.
French Twist Hairstyle
The French Twist Process
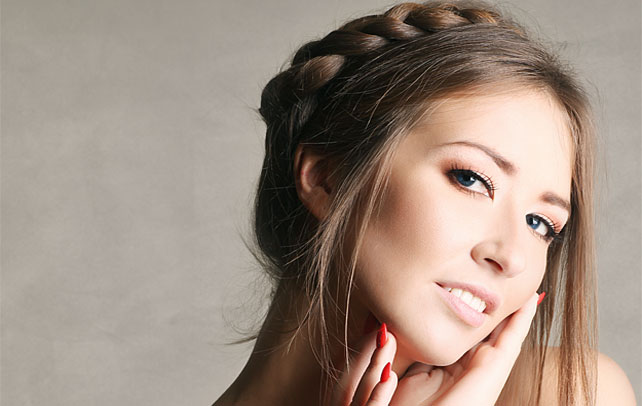
- When you are in need of a hairstyle that is elegant, the French twist is perhaps one of the best that you can do your hair in. The interesting thing about a French twist is that you could easily wear it to a prom, party or any other formal occasion and can also look alluringly casual on a regular day by tying your hair loosely and letting a few strands caress your face. The French twist suits girls in their late teens as well as slightly older women.
- Before you start on your French twist Hairstyle, it would be a good idea to ensure that you have some essential items, which will aid you in the styling of your hair. These include two-inch hairpins, twist holder clip bun hair tool, a large hair twister, contemporary seven combs and a wonder weave regular.
- The way to start is to first brush your hair well and sweep it up into a ponytail. This is a very important step. Make sure that the hair is smooth over the scalp.
- Next, fix the ponytail with the help of an elastic band or tie. Once that is done, twist your hair in any one direction, either to the left or to the right, depending on your preference. Make sure that the twist is done right through till the end of the hair.
- Now lift all the twisted hair up to the top of your head and fold it in. Start pinning your hair, beginning at the very bottom and work your way right up to the top. Ensure that you use the hair pins inwards in such a way that they do not jut out or stand up. The idea is that the pins should not be visible when you are finished.
- The next step would be to slightly loosen the roll about half way up, and open it up just enough so that you can push the end inwards to seal it. If you desire a more informal look, then leave the ends loose and arrange it on the top of the head.
- You can use some hairpins or a hair comb and by lifting a bit of hair from the upper section of the twist, slide these under and into the roll. This action should be repeated separately for the lower section of the hair. You now have the basic French twist.
- You can also add sticks into the hair. This is done by inserting the stick and extending it so that you can see one full edge. Touch the tip to the skull and let it drag in the opposite direction across the head as you bring it down into your hair design. Take the second stick and repeat this procedure.
- To ensure that the hairstyle stays firmly in place, make use of aloe-vera or any other gel or hairspray and smoothen your hair down. The French twist is now complete.
- For a slightly less formal look, you can pull out a few strands of hair from the sides and let them hang loose at the sides of your face.
If you have long healthy thick hair, which you’ve had trouble styling thus far, then the trick is to do with your hair what works for it best, and create a style statement that’s hard to beat. The French twist can be a beautiful life saver, on any occasion, and is just cool when wanting to attain a dignified, smooth yet stylish persona.

